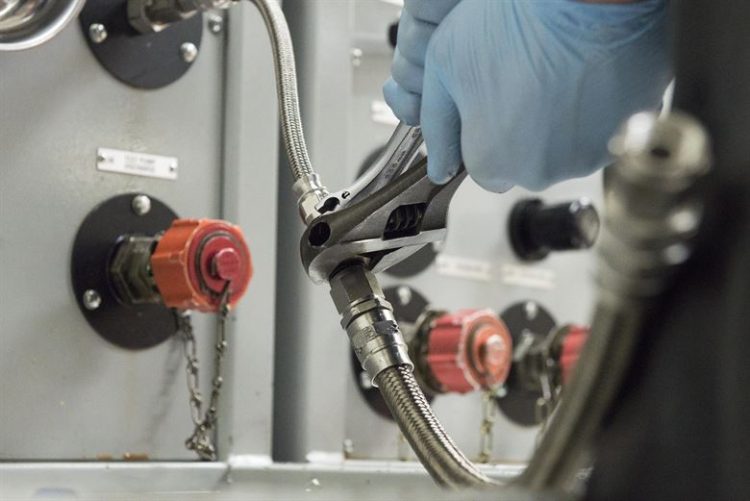
Getting the crimp just right is a critical element of successful and reliable hydraulic hose maintenance. Therefore it requires the correct tools for the job and a methodical and professional approach. Rushing may result in an under-crimped or over-crimped connection, which means trouble down the line.
- Under-crimping may permit fluid to travel back up the hose beneath the outer casing, thus causing blistering and weakening the hose
- Over-crimping may compress the end fitting, resulting in constricted flow or even blockage of the fluid payload
Tools You Need For The Job
Taking a professional approach means assembling the components and tools beforehand in the correct location so that everything is to hand when required. That means concentration is less likely to be broken, resulting in a better job.
We assume the hose is cut to the correct length using a dedicated hose cutter or saw, either manual or a power tool, so that the ends are perfectly square and even. That helps to ensure a perfect fit between the attachment collar and the hose. If the hose has been cut to size using something like a bolt cutters, then the ends cannot be truly even and you risk leakage in the resulting connection. We also assume that no swaging is required and that the attachment is the correct diameter and size for the hose.
- Appropriate safety clothing – goggles, ear protectors, gloves
- Hose
- Attachment
- Grease or lubricant for the hose end to facilitate ease of inserting the attachment
- Marker or chalk to mark the hose for the correct length to match the attachment
- Crimping machine with the correct die and collar for the hose diameter, and compression ring
- Vernier callipers to check the finished crimp (optional)
Follow these step by step instructions to complete the crimping:
1) Marking The Hose Length To Match The Attachment Depth
In order to easily push the hose into the attachment you need to lubricate the end of the hose. Then push it as far as possible into the attachment. Next, draw a line on the hose to mark where the fitting ends so that you can double-check it has been done properly after crimping.
2) Select The Correct Die For The Job
It’s vital that the die size is correct for the hose diameter. Select the correct one and fit it in the crimping machine.
3) Adjust The Crimping Machine To The Correct Diameter Setting
Most crimping machines accept various sizes of die and come equipped with a micrometer so as to adjust the machine and die to the appropriate diameter for the job in hand.
4) Insert & Position The Hose & Attachment In The Die
Push the attachment end of the hose into the crimping machine die until the attachment shows above the die. You should not be able to see the end of the hose above the die, only the attachment. Then manually tighten the die a little so as to hold the hose in position. Place the compression ring over the die.
5) Make The Crimp
When the crimping machine is activated, the cylinder head will gradually bear down on the collar, which compresses the die. The crimp is not complete until the collar is fully at the bottom of the die. Most machines then cut out at this stage because the job is finished. They may also have an auto cut-out if anything goes wrong, such as the die coming loose.
6) Check It
Visually ensure that the end of the attachment is lined up with the mark you made on the hose prior to crimping. That ensures that the hose is fully inserted into the attachment. If it’s not lined up correctly, then something moved and the crimp is bad and needs to be redone. Optionally, verify that the diameter over the attachment is still correct by measuring with a Vernier callipers or similar tool across the flat parts of the crimp.
Download Our FREE Guide
Download our free guide, How To Minimise Downtime On Pneumatic Systems by clicking here. The guide includes sections on maintenance, part matching, ordering and more. For all other questions, please call our sales team on 01353 721704.


